Post-installation steps
A list of steps that should be done after installing Ente are described below:
Step 1: Creating first user
The first user to be created will be treated as an admin user by default.
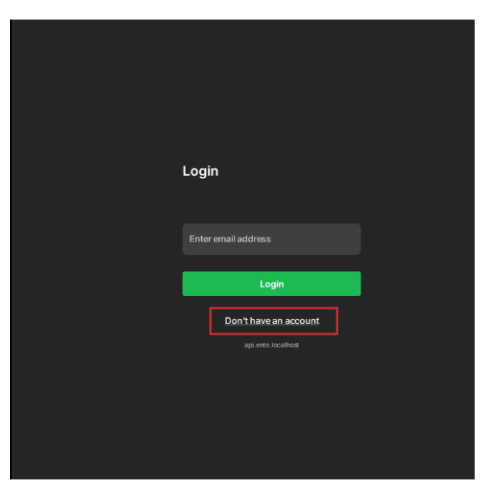
Once Ente is up and running, the Ente Photos web app will be accessible on http://localhost:3000.
Select Don't have an account? to create a new user. Follow the prompts to sign up.
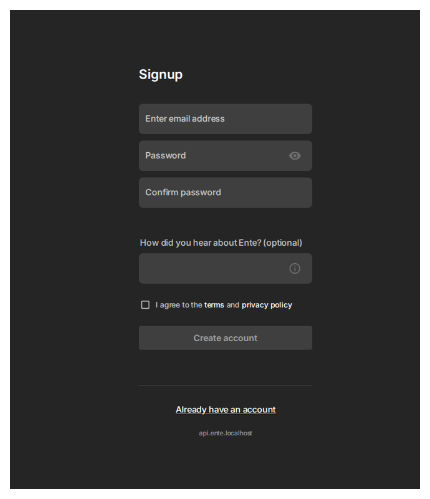
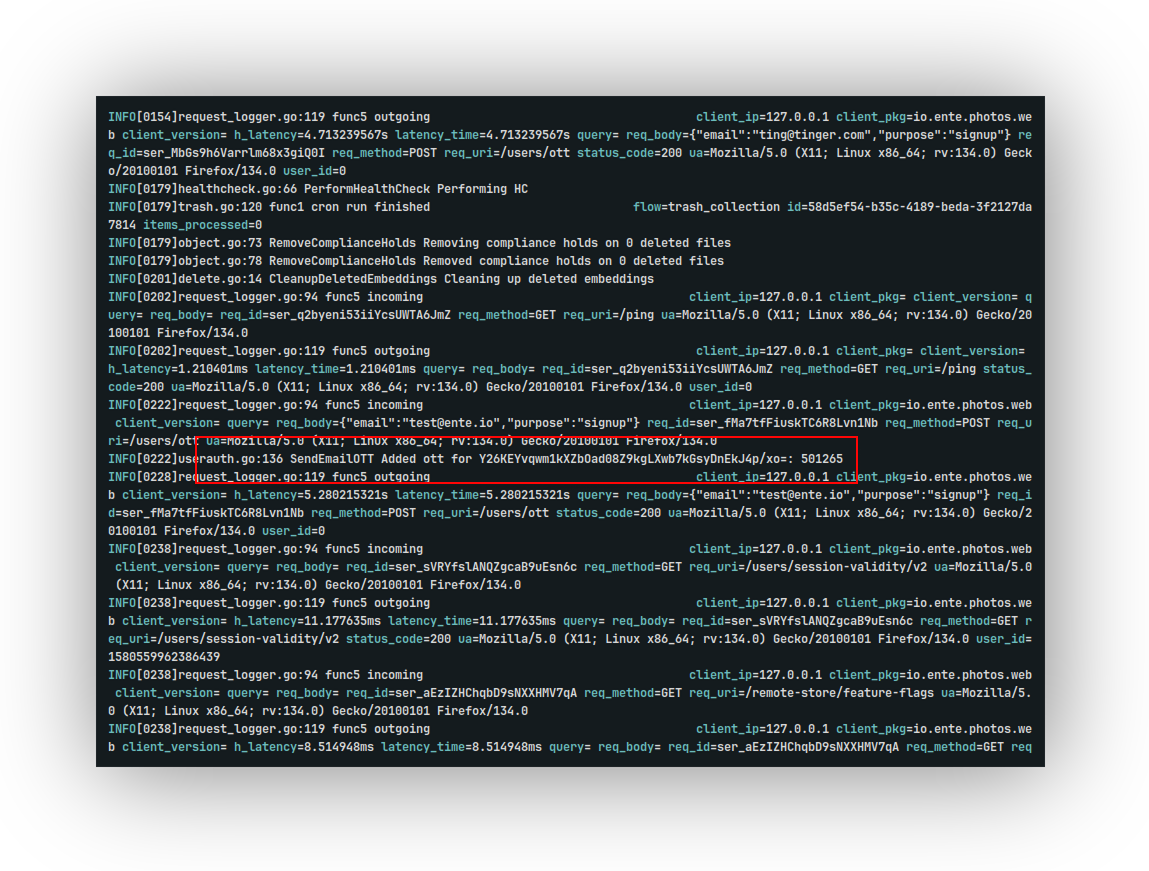
Enter the verification code to complete registration.
This code can be found in the server logs, which should be shown in your terminal where you started the Docker Compose cluster.
If not, access the server logs inside the folder where Compose file resides.
sudo docker compose logsIf running Museum without Docker, the code should be visible in the terminal (stdout).
Step 2: Whitelist admins
Connect to
ente_db(the database used for storing data related to Ente).shell# Change the DB name and DB user name if you use different # values. # If using Docker docker exec -it <postgres-ente-container-name> sh psql -U pguser -d ente_db # Or when using psql directly psql -U pguser -d ente_dbGet the user ID of the first user by running the following PSQL command:
sqlSELECT * from users;Edit
internal.adminsorinternal.admin(if you wish to whitelist only single user) inmuseum.yamlto add the user ID you wish to whitelist.- For multiple admins:
yamlinternal: admins: - <user_id>- For single admin:
yamlinternal: admin: <user_id>Restart Museum by restarting the cluster
Restart your Compose clusters whenever you make changes
If you have edited the Compose file or configuration file (museum.yaml), make sure to recreate the cluster's containers.
You can do this by the following command:
docker compose down && docker compose up -dStep 3: Configure application endpoints
You may wish to access some of the applications such as Auth, Albums, Cast via your instance's endpoints through the application instead of our production instances.
You can do so by editing the apps section in museum.yaml to use the base endpoints of the corresponding web applications.
# Replace yourdomain.tld with actual domain
apps:
    public-albums: https://albums.ente.yourdomain.tld
    cast: https://cast.ente.yourdomain.tld
    auth: https://auth.ente.yourdomain.tld
Step 4: Make it publicly accessible
You may wish to access Ente on public Internet. You can do so by configuring a reverse proxy with software such as Caddy, NGINX, Traefik.
Check out our documentation for more information.
If you do not wish to make it accessible via Internet, we recommend you to use Tailscale for convenience. Alternately, you can use your IP address for accessing the application in your local network, though this poses challenges with respect to object storage.
Step 5: Download mobile and desktop app
You can install Ente Photos by following the installation section.
You can also install Ente Auth (if you are planning to use Auth) by following the installation section.
Step 6: Configure apps to use your server
You can modify Ente mobile apps and CLI to connect to your server.
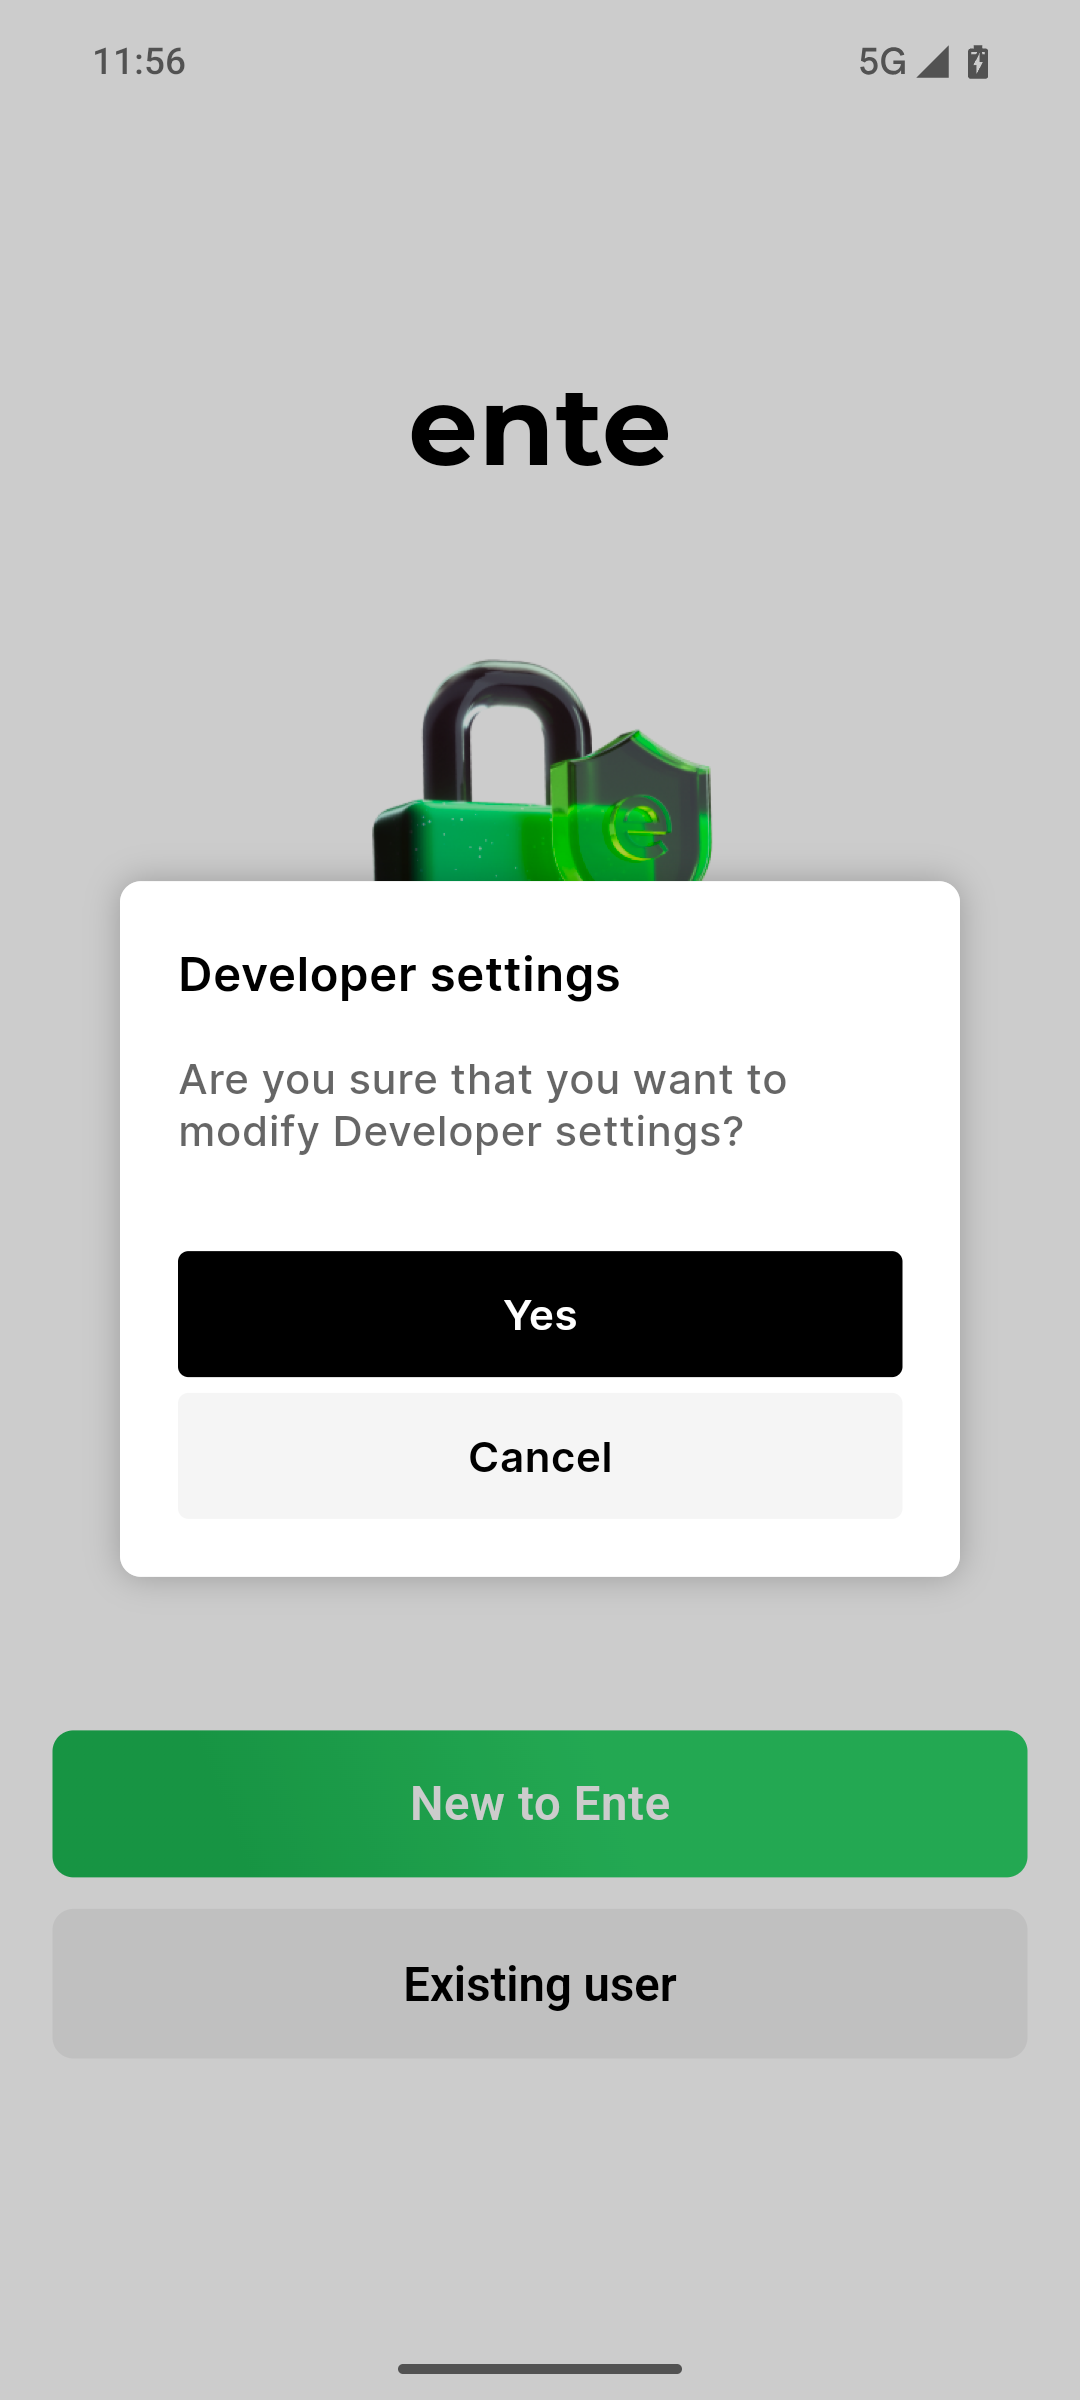
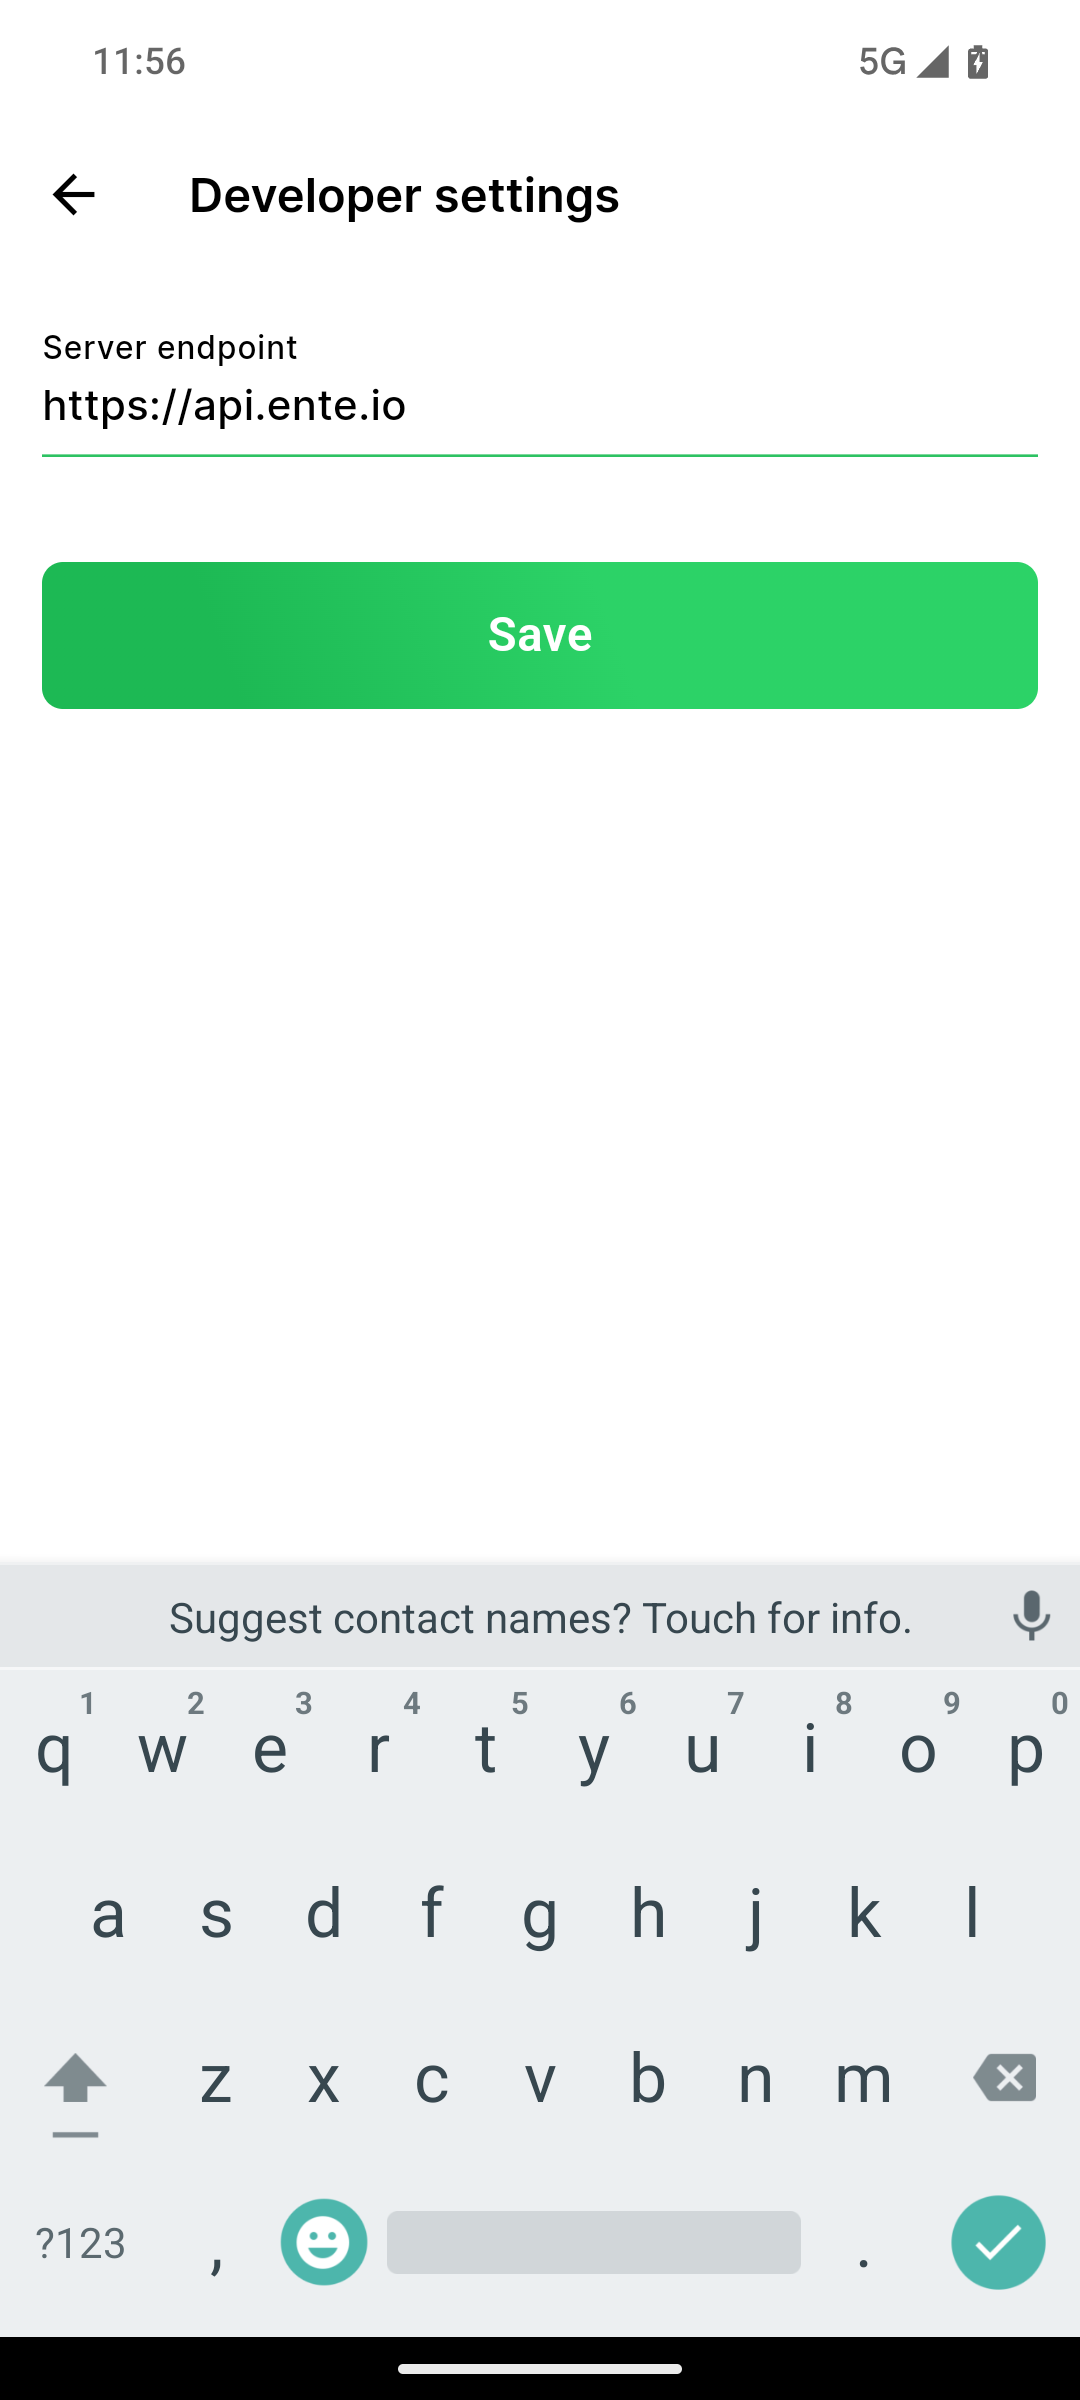
Mobile
Tap the onboarding screen 7 times to modify developer settings. Enter your Ente server's endpoint.
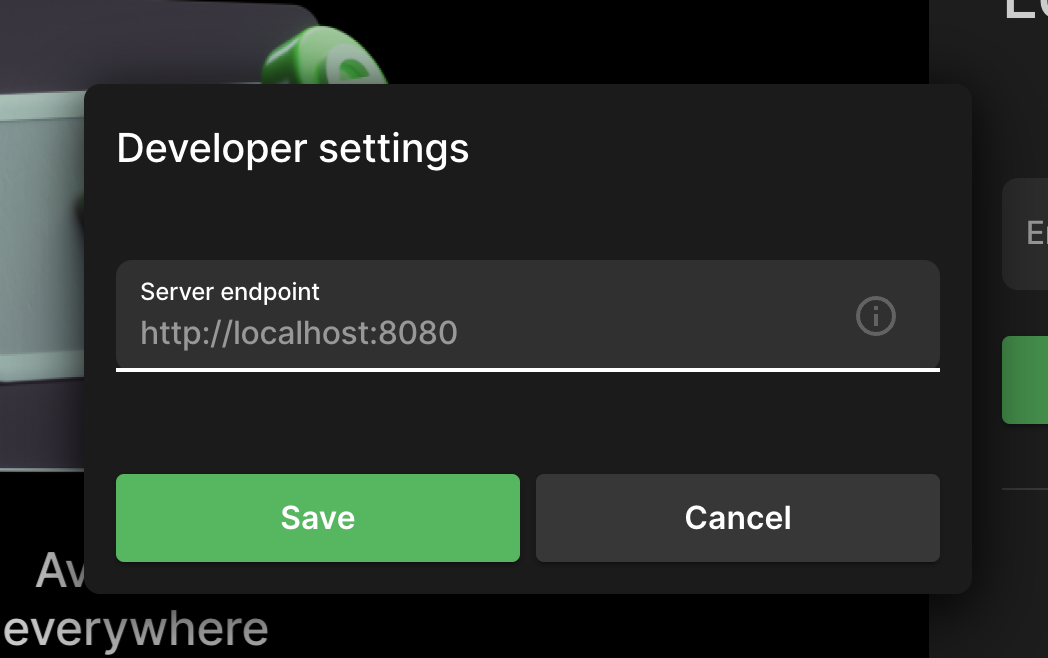
Desktop
Tap 7 times on the onboarding screen to configure the server endpoint to be used.
Step 7: Configure Ente CLI
You can download Ente CLI from here.
Check our documentation on how to use Ente CLI for managing self-hosted instances.
For upgrading
Check out our upgrading documentation for various installation methods.