Connecting to a custom server
You can modify various Ente client apps and CLI to connect to a self hosted custom server endpoint.
Mobile
The pre-built Ente apps from GitHub / App Store / Play Store / F-Droid can be easily configured to use a custom server.
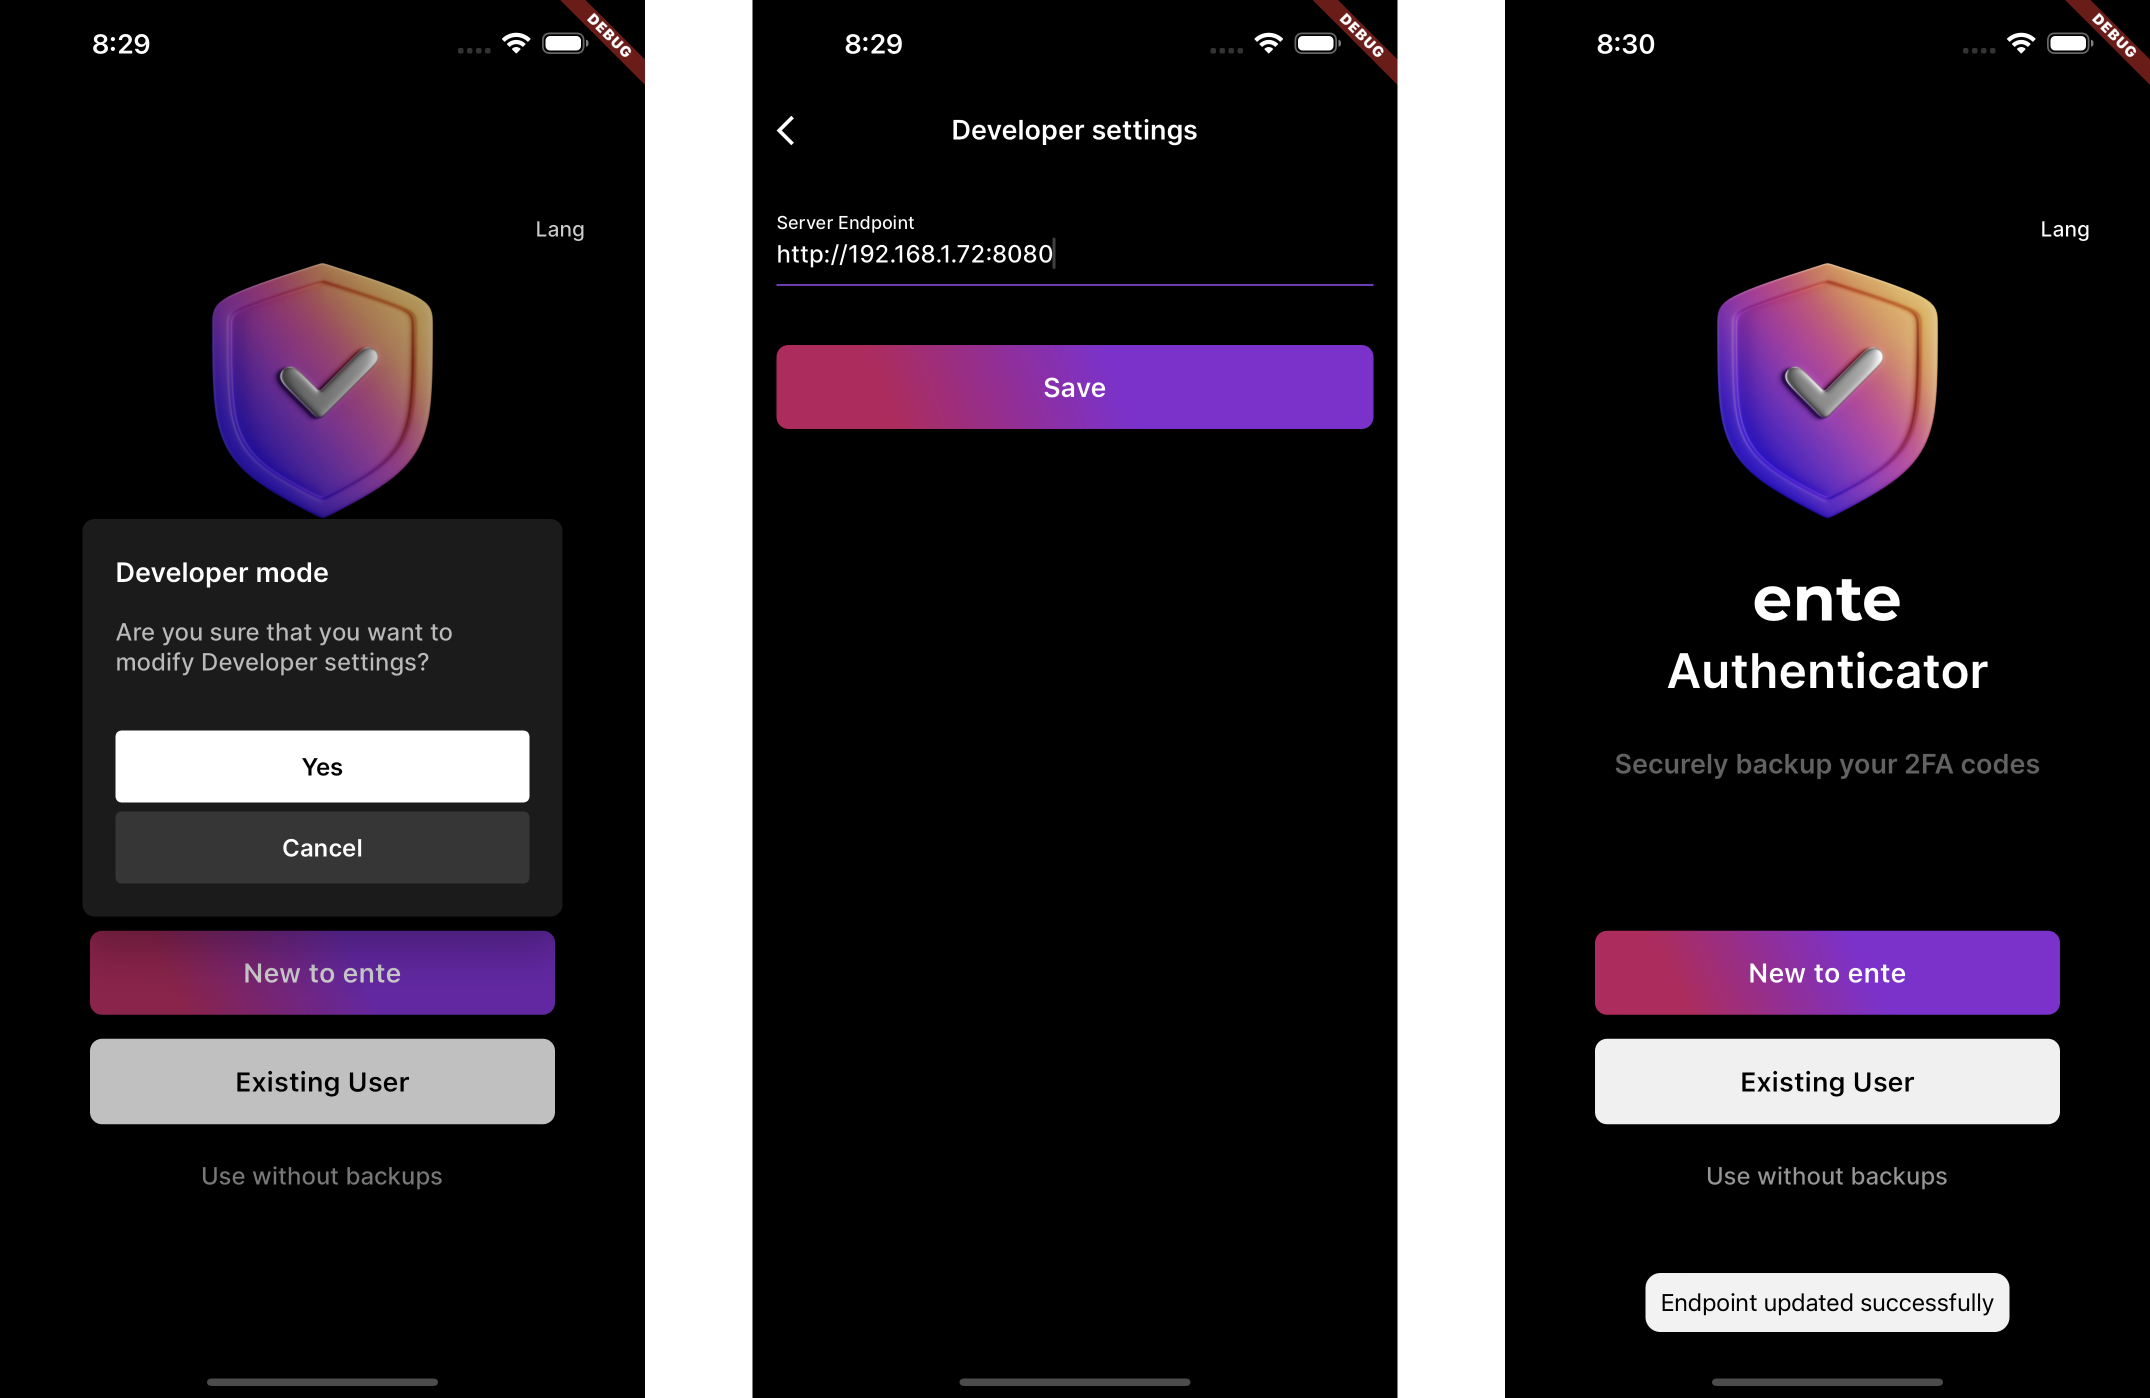
You can tap 7 times on the onboarding screen to bring up a page where you can configure the endpoint the app should be connecting to.

Desktop and web
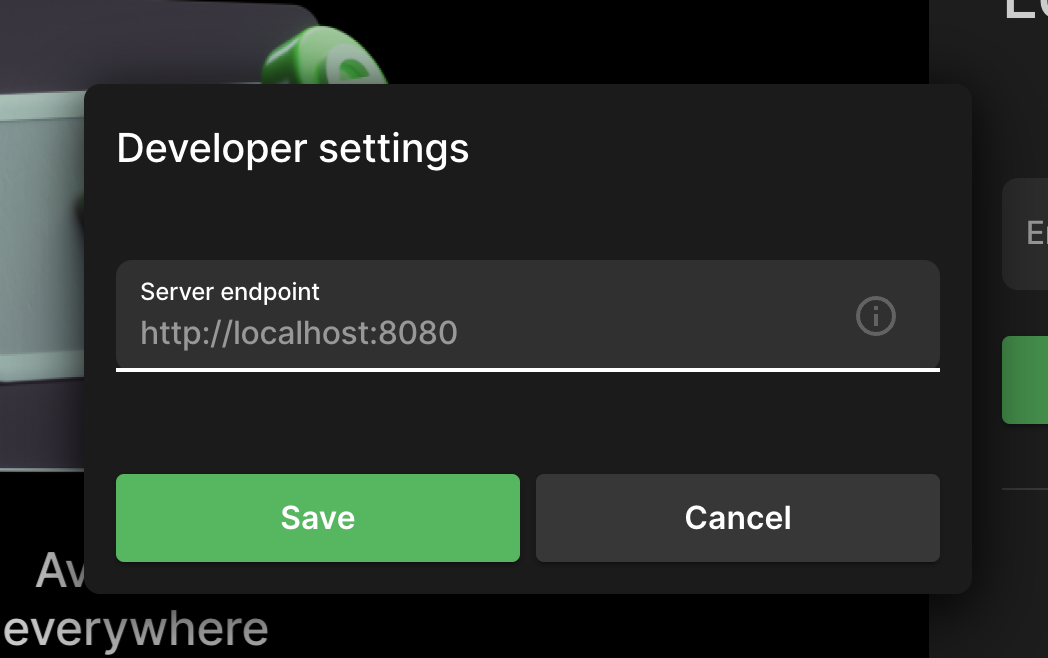
Same as the mobile app, you can tap 7 times on the onboarding screen to configure the endpoint the app should connect to.

This works on both the desktop app and web app (if you deploy on your own).
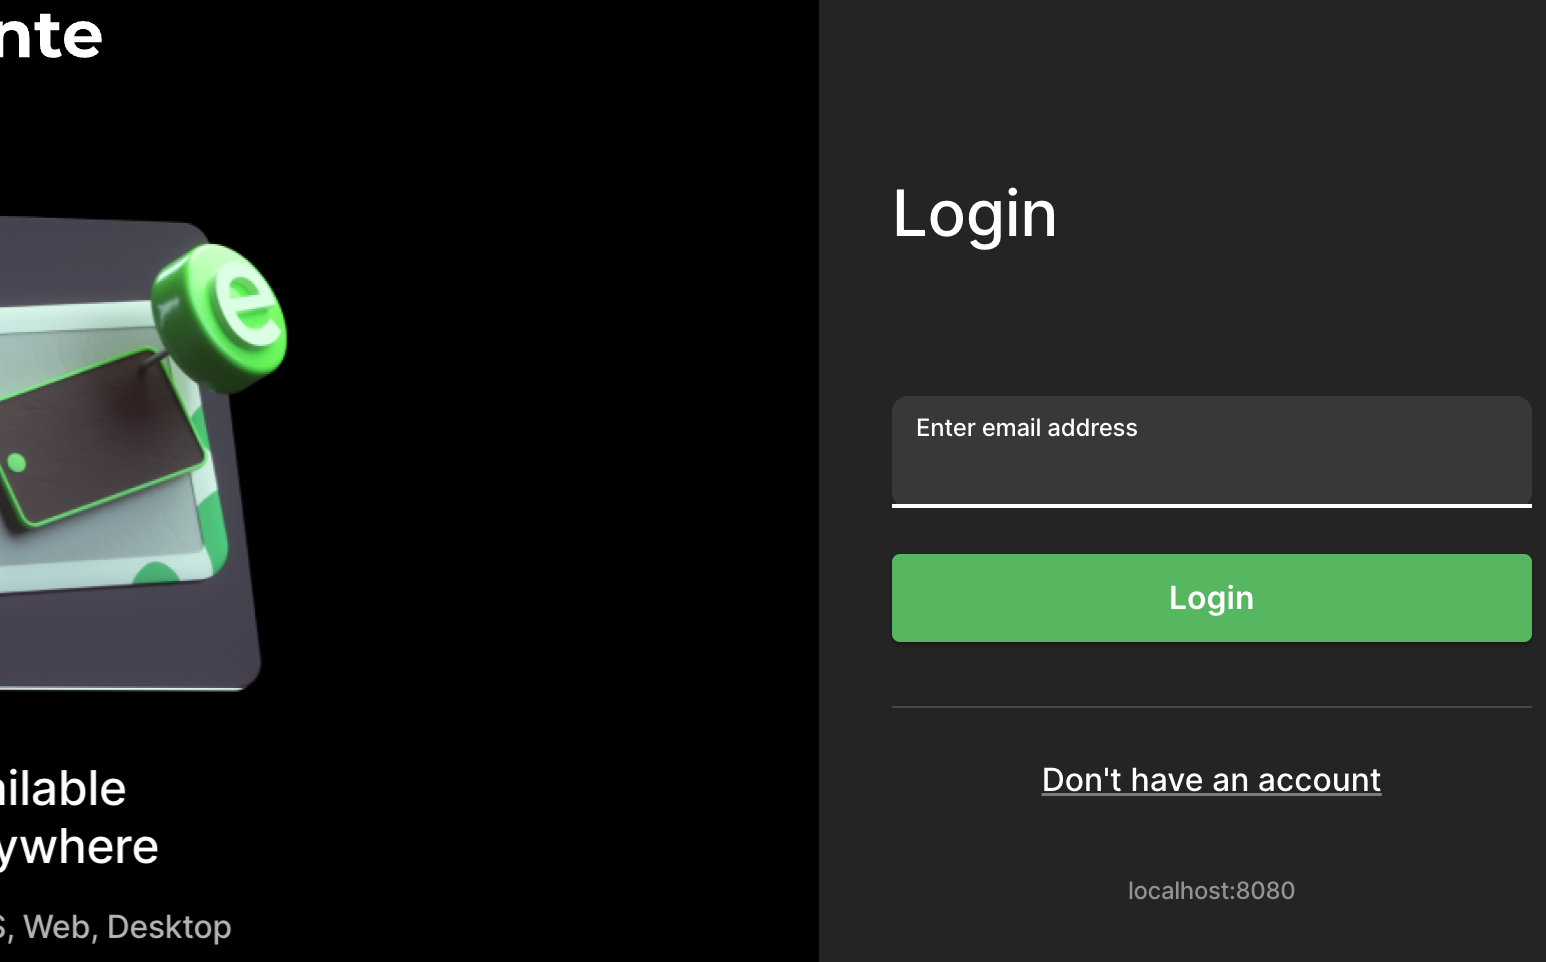
To make it easier to identify when a custom server is being used, app will thereafter show the endpoint in use (if not Ente's production server) at the bottom of the login prompt:

Similarly, it'll be shown at other screens during the login flow. After login, you can also see it at the bottom of the sidebar.
Note that the custom server configured this way is cleared when you reset the state during logout. In particular, the app also does a reset when you press the change email button during the login flow.
Building from source
Alternatively (e.g. if you don't wish to configure this setting and just want to change the endpoint the client connects to by default), you can build the app from source and use the NEXT_PUBLIC_ENTE_ENDPOINT environment variable to tell it which server to connect to. For example:
NEXT_PUBLIC_ENTE_ENDPOINT=http://localhost:8080 yarn dev:photosFor more details, see hosting the web app.
CLI
NOTE
You can download the CLI from here
Define a config.yaml and put it either in the same directory as where you run the CLI from ("current working directory"), or in the path defined in env variable ENTE_CLI_CONFIG_PATH:
endpoint:
    api: "http://localhost:8080"
(Another example)
Find the hostname of your server
If you want to access your museum within your own network, you can use the hostname command to find a addressable local network hostname or IP for your computer, and then use it by suffixing it with the port number.
First, run
hostnameThe result will look something like this
my-computer.localYou will need to replace the server endpoint with an address that uses your server's hostname and the port number. Here's an example:
http://my-computer.local:8080Note that this will only work within your network. To access it from outside the network, you need to use the public IP or hostname.
TIP
If you're having trouble uploading from your mobile app, it is likely that museum is not able to connect to your S3 storage. See the Configuring S3 guide for more details.
